 |
| Saturday morning project |
I made a template from a manila folder of the purchased headband. I will place this template on a folded section of cloth and cut. This is done twice to get a top-facing and bottom piece of cloth. I also took off the rest of the buttons and the label from the shirt. I love collecting buttons. I have a jar of buttons on my dresser.
 |
| I heart button jars! |
The jar was something I got at a thrift store years ago. It is an old spice jar; I've never seen anything so quaint before. Then one day I went to an estate sale and there was a whole 20-piece jar set with wall mounted wire shelf of the exact jar I had. At first I was excited, then, because there was so many, I felt like it lost its charm somehow. I decided not to buy any and just keep my lone one on my dresser.
Back to finishing the headband. Once I got the two pieces cut out, I cut a length of elastic about 6" long and pinned it in between the two layers of fabric.
 |
| Sewing is so backwards, sometimes! |
I stitched along the edge with a ball-point needle on my sewing machine. I did not want to run the risk of the thread bunching when I got to the elastic. I'm not sure if it would have, but I did not want to rip out rat nests this morning. I sewed around the elastic end and 90% of one side. This is where it got a bit tricky, I then found the other end of the elastic between the fabric and pinned it to the other end. The fabric bunched up and I had to keep it smooth so I could sew the end and the other side.
 |
| Almost there... |
I left a small opening and then turned it right-side out. This left a hole where I did the transformation from scrunchie to headband. The purchased headband had topstitching around the entire edge; so I chose to do that too. I am not always a straight sewer, even when I try to line it up with the guidelines on the sewing machine. The fabrics have a mind of their own and do what they want, even if you are feeding it through straight. My sewing sistas, I'm sure, would back me up on that fact.
 |
| See ya, hole! |
I pressed the fabric so the seams were flat and aligned the fabric folds of the hole so I can close it when I topstitch. To aid in my mission to sew straight, I used a zipper foot with the needle on the right side (my zipper foot has a plastic piece that you can move from side to side, depending on what side the zipper teeth are on). This actually worked the way I imagined, so I was happy! Since this did not take too much time, I cut out another headband out of left-over fabric from my Halloween costume last year, where I was a cowgirl. The fabric was a faux suede, like microfiber/moleskin, which was supposed to represent my cowhide skirt and vest.

 |
| Two new headbands |
I can't forget that I did have help cutting out the pattern...
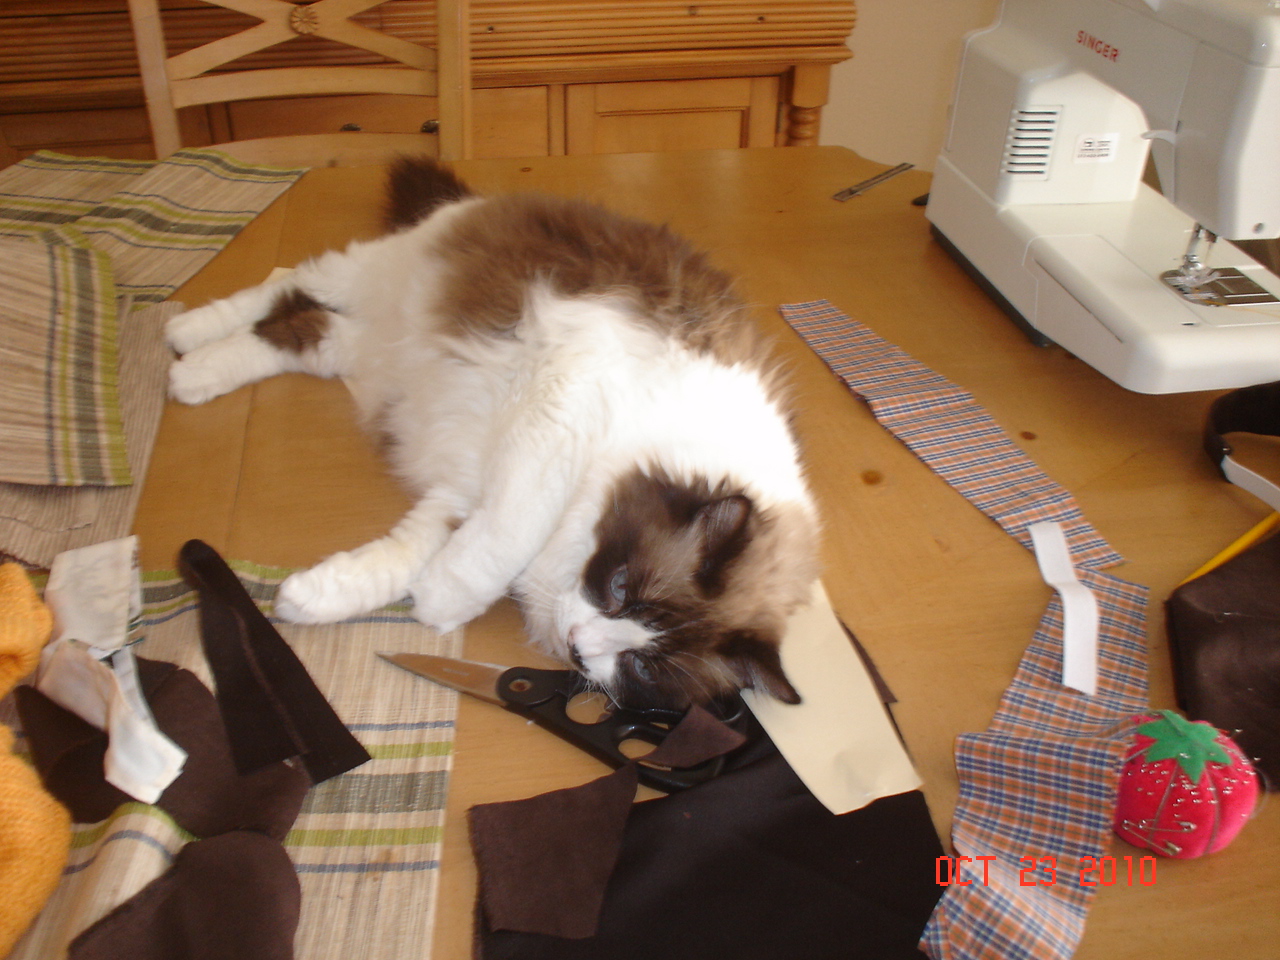 |
| I wouldn't have been able to do it without you, Roo! |
When I start a project, it is expected that either Julie or Jasmine will come and get themselves in the middle of it. My eldest kitty, Julie (aka Roo) helped by laying all over the fabric and pushing it all over the table. Like I said...typical!
2 comments:
please model this headband so i can determine if i need to ask for onefor christmas:)
It looks like I may be making headbands for everyone...you are the second person to ask for one for Christmas!
Post a Comment