Showing posts with label blazer. Show all posts

Sunday, November 13, 2011

Fix It - Ribfest Tank

This weekend in St Pete at Vinoy Park was Ribfest.  I love Ribfest; so much good food.  I recently have been trying a gluten-free diet (no wheat, so like anything made with flour is out) and cutting out carbonated drinks (like beer and soda).  I knew I could not control how the ribmasters make up their BBQ sauce (yes, they may add flour or modified food starch to thicken or use soy sauce which has flour), so I said that I was forgoing the gluten-free and carbonation-free diet for one day. 

That being said, I need a shirt that was not too tight.  My belly gets really bloated when I eat wheat and carbonated drinks, so I wanted to be worry-free on how my belly was looking during Ribfest.

I recently went around to yard sales on a past weekend, and bought this really cute halter top for 50 cents.

Holy Polka Dot, Batman!

Yeah, it's polka dotted but I really liked it.  I liked the flow and the twirly-wrapped straps.  The only thing is that I did not really like that it was a halter top.  I'm constantly picking up the back to make sure it's covering my bra and I have to wear a strapless bra.  Halters are supposed to be cute and fun, why so much hassle to wear one?  

Since the twirly-wrapped straps were really long, I decided to make regular straps out of them and use the extra length to make loops in the back to hold up the back from sagging.

Twirly Loops, Coming  Right Up!

Next, I took the small length I just cut and attached them to the back of the shirt.

Easy-Peasy

Then I threaded the twirly-wrapped straps through the new loops and had Vince make a square knot in the back middle.

Really, That Simple!

Here is a close-up of the loops and knot:

No More Saggy Back

I will model my new shirt:

Project Runway, Here I Come!

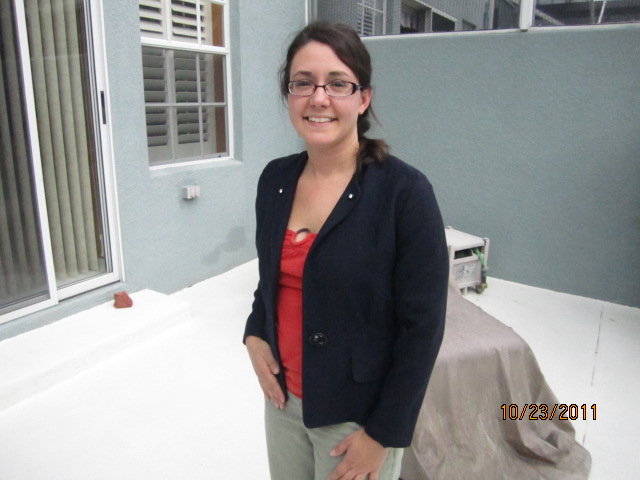
Remember I fixed up a few blazers?  Well, I paired my new shirt with one of them to attend Ribfest (It got a bit chilly in the evening):

And Now the Red Carpet...

Let's say I won't be quitting my day job to model. :-)

We enjoyed ourselves so much at Ribfest.  It was a perfect day and the ribs and pulled pork were delicious!  We met some friends there.  Here is a pic of their daughter and I reading a Dora book:

So Cute!

Now for Rib Pictures:

Ravaging a Rib

A few more:

Yum, So Worth It!

The daughter let me borrow her bib so I could finish up without a mess:

I'm Such a Princess When I Eat!

All in all, we had a good time.  Can't wait until Ribfest 2012! 

Sunday, November 6, 2011

Blazers

While I made my Halloween Prom Dress, I also fixed up a few blazer jackets that I bought at a thrift store.  Two of them were just hemming the sleeves, but one I modernized.  So, here are the three:

The Navy Suit Jacket
The Brown Linen Blazer
The Khaki Green Blazer

I will save the Navy one for last, because I worked the most on that one and will start with the Brown one.  All I did with the brown one was hem the sleeve about 1".  

Just Cut, Press & Sew

I was also thinking of making a cinch in the back to form fit it a bit, but I thought that it may look sloppy.  I just left it as is.

One Down...Two to Go

For my second blazer, I also only hemmed the sleeve length.  This one had buttons on it so I copied the button look.

Original Sleeve

I unstitched the buttons and measured where to cut and resew.

Markings with Chalk

I then marked with chalk where I was going to stitch to match what I just cut off.  I also made dots so I would know where to reattach the buttons.

Two Down...One to Go

Now the last one.  This looks like it was a suit jacket that once had matching pants from the 80's or something.  It was wool with a liner.  

Some great points:
  • Premium tailoring
  • Awesome vintage button 
  • Cropped (hit at the low waist, rather than hip)
  • Sleeves length fit
Some not so great points:
  • Shoulder pads (It was like a box on me)
  • Lapels that were unfolded and a bit claustrophobic
  • Liner was totally unstitched at the bottom hem
So, there are more pros than cons, so when I tried it on at the store, I decided to take a chance.

My first item of business were the shoulder pads.  If I can't get those right, then I wasn't going to work on the rest of it.  I unstitched the inside liner at the arm holes and this is what I saw in there:

Ick!  I don't even have words for this...

So, I cut the shoulder stuffing out and promptly threw it in the trash, never to look at it again.  For some reason, that grossed me out.  It was like looking at a couch cushion foam under the upholstery.  My advice:  Do Not Ever Look At Couch Cushion Foam (or the padding under rugs).  Enough said.

I then had to fit the shoulder seams.  Once the padding was out, they were deflated boxy shoulders - not a good thing.  This was a bit trial and error.  I pinned as best I could, crossed my fingers and sewed a new seam (meaning I didn't unstitch the old seam, just sewed in about an inch).

Shoulder Seaming

I then cut off the excess, once I was happy with the fit.  I had to try it on and tweak the seams a few times, but did finally get it good enough.

Next was the liner.  It was all unstitched.  With the liners to these sort of pieces, it must be done all by hand.  Good 'ole fashion needle and thread using the slip stitch.  

Ugh, Unstitched Little Devil!

Once my DVR'd episode of Danicing with the Stars was done, so was I with the handstitching.  Phew.  Go Ricki Lake!!  Who knew she was so good?

Next and last were the lapels.  I wanted to keep the vintage feel of this jacket and was thinking Audrey Hepburn in Breakfast at Tiffany's: Elegant.  I went to Joann's and bought a button card with a white rhinestone in a black plastic bezel with a shank buttons.  The existing closure button also was a black shank button.

I folded down the lapels as you would normally see them and pinned in place.  I chalked my dots to affix my new rhinestone buttons to.

'Ole Navy is Getting a Make-Over

I then handstitched the buttons onto where the dots were.  This is how the lapels will stay folded.  Since the jacket is wool, there really is no other way than stitching them down to keep them in place.  Now that the buttons are in place, it looks like the lapels are buttoned down.

Fabulous, or What?

Here is a closer look at the lapels and shoulder shaping:

I Love It!

The Navy one took the longest, but the three in total cost me about $3 each and about an afternoon of sewing.  Not too shabby.  

Now that it is getting a bit cooler here (Florida), I am looking forward to wearing them.  If you have a bit of sewing talent, you really can fix up anything.  You just need your imagination and some thread.  Oh, scissors help too.

Happy Thrifting!