Showing posts with label Plymouth Yarn. Show all posts

Saturday, February 19, 2011

Sweater Purse 2.0

Here is another addition of the Sweater Purse.  This purse was made for a friend that has everything.  I knew that this purse had to be special.  I decided to down-size the large purses I made in my last Sweater Purse 1.0 post to: 1. Accommodate more purses out of one sweater and 2. Make it easier for me to handle.

I certainly will get more purses out of one sweater, but I did not make it easier on myself!  First, I took a hot pink sweater that was previously felted from my first Sweater Purse 1.0 post.


This one dd not shrink too much
 
Then I cut the sweater across the chest just below the armpit and then cut that bottom section in half.

Use a rotary cutter - it makes life a piece of cake

Instead of sewing the bottom waist/ribbed area closed to make it the purse bottom, I'm turning these around and making the ribbing the top.  My goal is to make two separate drawstring wristlets.  I am only demonstrating how I made one, because the second one will be the same except for the embellishment on the front, which you will see later.

I'm also trying something new this time and I am going to line the purse.  The liner I chose is a length of fabric that I bought at a yard sale for 50 cents.  It was at least a 3/4 yard length.  I get so stoked when I find something fab like this for cheap.

Very chic 50 cent liner!!

I utilized the side seam in the sweater and turned it inside-out and sewed up the other side, leaving the ribbed end open and then sewed the cut end for the bottom closed.  I then attempted to sew a gusset seam so that the purse would have more body.  I sewed this so that the seams from the bottom of the purse looked like a plus symbol. I did not take a pic of this specifically, but you will see it in a below pic. 

I cut the liner slightly larger than the purse, to allow the purse to stretch a bit when something is placed inside it.  This was a bit of a challenge, because at first I sewed it too big, then unstitched and sewed it too small.  I also was trying to be professional about it (sewing like how a pattern would have you sew in a liner) but that did not work.  Phooey on patterns!  I sewed it just like I did for the outer purse but then placed it aside to insert later.

I wanted to make a flower applique to affix to the outside of the purse.  I cannot draw for the life of me, so I found a applique picture from an old knit magazine and had Vince's teenage daughter draw it out for me on a piece of scrap paper.  With this I took some sweater scraps from past projects and drew the flower on the scraps with washable magic marker.  I also cut a strip of the liner.

Homemade applique flowers

Once the daughter cut out the flowers for me, there was marker residue on the edges.  I took them to the sink and ran them under cool water and rubbed the edges until the marker was gone.  I then pressed the flower pieces between a towel.  They are wool, so they dried in no time.

While I was doing my purse project, Vince's daughter was having fun with my sweater and liner scraps.  She was tying little bits end to end and made a bracelet.  Then she made a bracelet for her dog, Maggie, a miniature pekingese.

What a good sport, Maggie was!

Meanwhile, I attempt a rosette with the liner scrap with a needle and thread.  I don't bother to look it up, it seemed easy enough.  Ha, well, when I was done, it did not quite come out like a rosette, but it was cool enough.  I layered the two flowers on top of each other, a bit skewed so the pedals were off-lined and then sewed my liner rosette in the middle.  I then affixed my new flower applique to the purse.

Is it cute or what? I amaze myself sometimes!

I'm not trying to brag, but I do not consider myself a very creative person.  I am crafty, but creative?  Creativity to me is something unique coming out of your own brain.  When something does come out of it, I am amazed, usually I just copy someone else's idea.  I do not claim the idea my own, but I try to do a decent job of mimicking something I see.  Oh, also, can see the seam in the front of the purse?  That is my gusset.  Eh, who knows if will help.

I then took the liner I set aside and turned it righside-out.  I inserted it inside the sweater purse and folded down the top edge so that the raw edges are not exposed.  I used a zig-zag stitch to sew the liner to the purse to allow it some stretch when the purse it opened.

Liner material is the worst with fraying.  It will fray the second you cut it.  That is why I thought that it would look cute as the rosette on the flower, the strip was quite frayed by the time I was done stitching it.

Fray no more, Liner!

As you can see, I sewed the liner about where the sweater started to rib, so about a 2" section was unlined.  In this section I inserted grommets.  This will be where my drawstring with be threaded through.

Make a hole with the tool and punch the grommet in.

Since this sweater was not very heavily felted, the ribbing was a bit delicate and I really only needed to make a hole one punch wide, but did two because it looked too small.  Once I put my finger in it to place the grommet in, I realized that one would have been enough.  Oh well, live and learn.

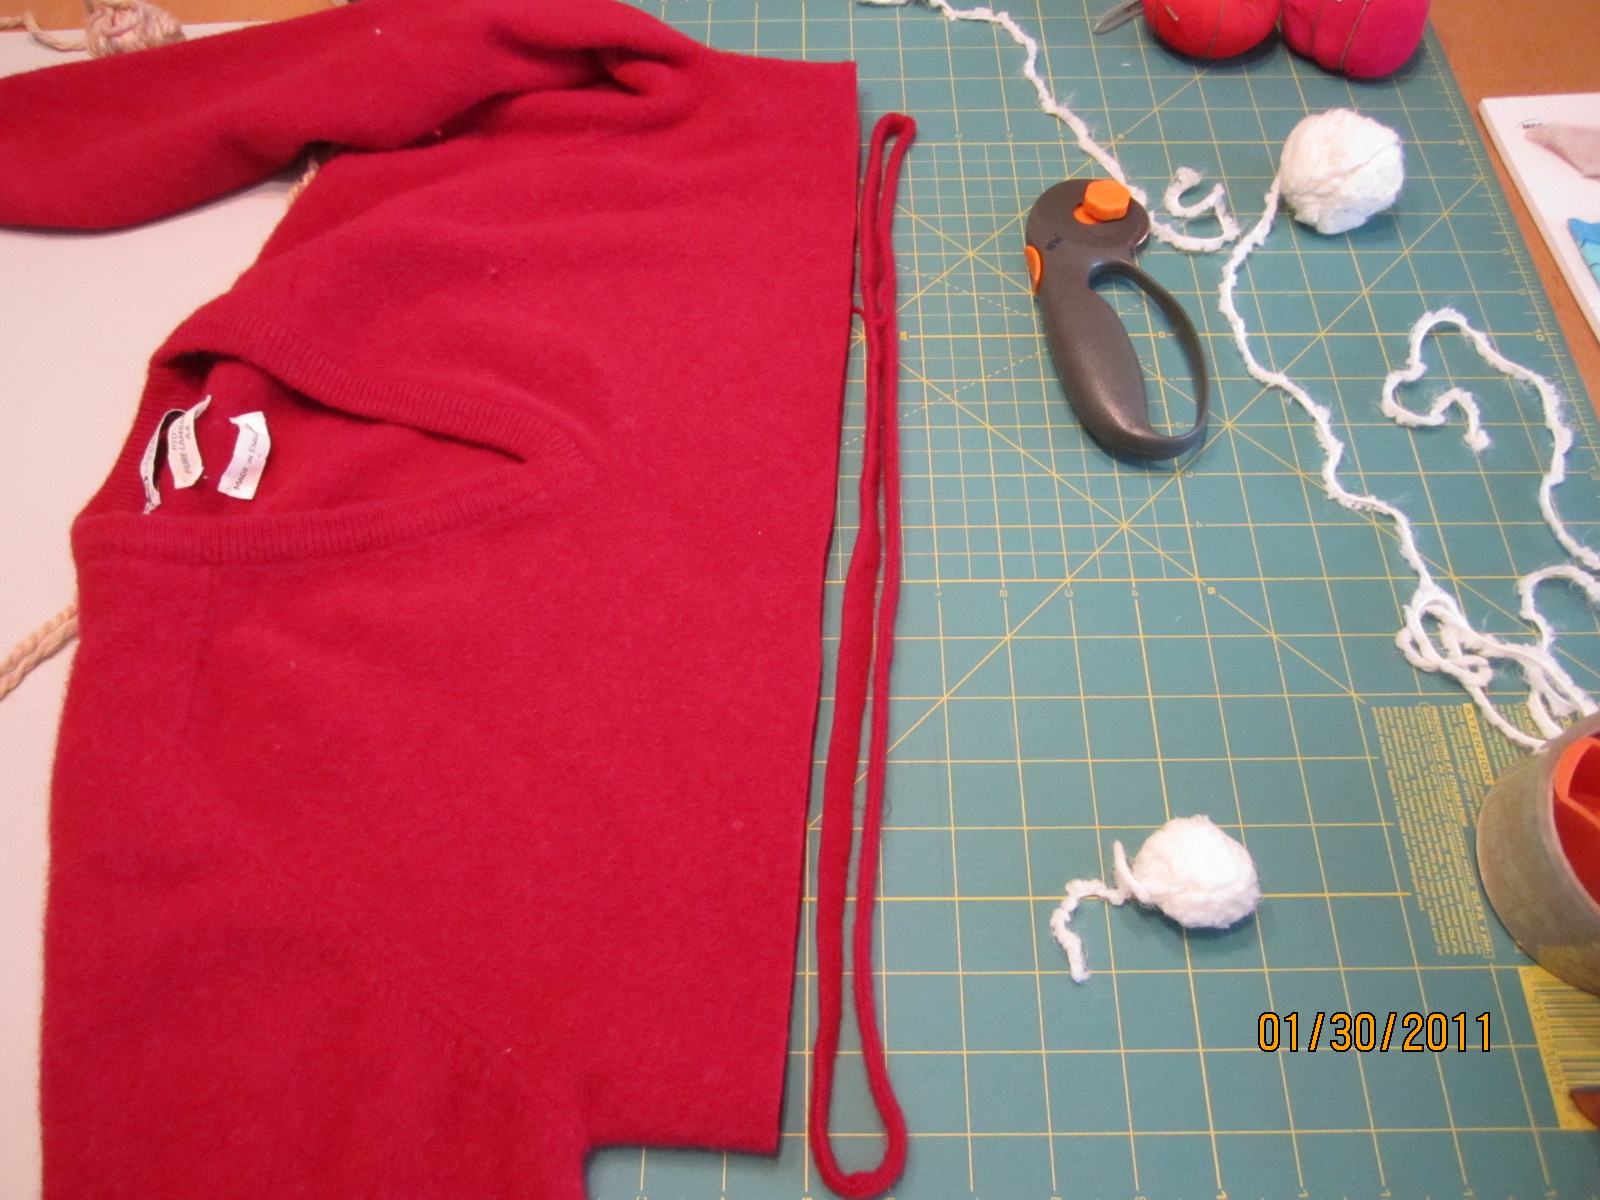
Now, I was having a hard time coming up with what to use as a drawstring.  Ribbon seemed too thin, but the sweater seemed like it might work.  So, I cut a strip of the sweater to test my theory.
Strip that sweater!

When I pulled on the sweater strip, it did not react well.  I thought that it may rip if pulled too tight.  As you see in the above pic, I raided my yarn stash to see what I had in there that would match.  I found some white Berocco Plush from when I made a lamb baby blanket.  That is a story all on it's own.  The blanket came out awesome, but it was challenging.  Anyway, Plush is like yarn spun from a cloud.  Soooo soft.  I also had some tan Plymouth Baby Alpaca Grande leftover from the same lamb baby blanket.  This was just as soft as the Plush, but it was spun from a baby alpaca.  What a treat that was to work with!

Anyway, I took strands about a yard long of the Plush, Grande and sweater and braided it.  I taped it down with duct tape like you did when you made friendship bracelets out of embroidery thread.  I only accomplished the herringbone style once and I kept it; so much for making friends! Ha ha!

I held the yarn strands together to equal one sweater strand

Now, threading this braid through the tiny grommets proved to be a challenge.  Vince helped, as usual, when I started to get frustrated.  It was threaded through so that the ends came out on the side.  I opened the purse to determine where the the knot was to go on the drawstring then knotted it so that the strands all hung together like fringe.

Yea, it's done!

I really liked the way this came out.  On the second one, I will make only one hole for the grommets and will do a different applique.  The second one does not have to be done until March, so I have some time to work on it still (I love burning the candle at both ends).  I don't have much of this pink sweater left, so I may come up with a different drawstring as well.  Here is the close-up of the applique that I am so proud of:

The fray gives it charm

If you have any ideas of other styles I could try using my felted sweaters, then I'm all ears!  I have a few more ideas up my sleeve, but I am always receptive to what you guys have to say!

Sunday, January 23, 2011

Raspberry Scarf

For the record, this is my fifth scarf of the winter season.  The funny thing is, is that it is not even cold in Florida (compared to the North, getting snow and ice)!  I am not complaining anymore when the weather is 50 degrees in Tampa and my parents are shoveling snow in Mass.  I say that now, but when I have to put a sweatshirt on over my tank top, then I probally will. :-)

This scarf I am calling my Raspberry Scarf (rather than beret) because I am using this saturated deep pink that I love.  There is a story with this yarn/project that I would love to tell you about, but you have to be willing  to read for awhile with no pics.  First, I brought a lovely dainty pink ball of sock yarn to Mass with me during my December visit and had a pattern picked out and was going to start on the plane.  This yarn has more air miles than the average yarn ball because I originally bought it last December and brought it home with me, never used it, then brought it back to Mass to try out this pattern. 


Just lovely

Well, the pattern actually called for a yarn weight of a 3, which is like sport weight or light worsted weight.  There lies my first problem: I had sock yarn which is considered a yarn weight of a 1 or 2.  (Translation: my sock yarn was too thin for this pattern).  I start the pattern (which was a scarf, surprise!) and the details are not that defined and the drape is all wrong.  I knew this was not the right yarn for the project, but I desparately wanted to use it!  I tried it on a smaller size needle, but then the scarf would end up being only a few inches wide.  I was disappointed, but realized that the dainty pink yarn would be wasted if I used it on this pattern. 

So, in being Miss Preparedness, I had another project on the ready when I got to my sister's house.  I ordered this yarn online ahead of time and had it mailed to her house; so it was waiting for me when I arrived.  Since my scarf was not working out, I was glad I had this back-up project.  This new project was to be knit with yarn with 1% elastic.  I did not think that would be a big deal, well my blogger-readers, it actually was.  Of course, this new project I wanted to do Magic Loop on it (can't be simple, can it?) but the size needles I ended up needing, I did not have.  Remember, Magic Loop needles need to be at least 36" long.  I went to Michael's and the longest they had was 29" or something.  I bought them, but in my gut, I knew it was not going to work.  Rats! 

At some point during the visit, I make my sister bring me to her local yarn shop (not Michael's or Joann's, but a real yarn shop).  They had the needles I needed in 40" - cool!  We are cooking with gas now!  I figured, while we are here, let me get the proper yarn for the scarf I tried working on while on the plane.  I had one of the shop keepers help me and I explain the sock yarn thing vs. the sport weight, blah, blah.  She directs me to the sock yarn.  I did bring my pink sock yarn to show her that it was thin, but she chose another brand that was a bit thicker and said that it should be perfect for my scarf.  I was doubtful, but thought, "she's the expert."  I bought two balls of yarn and the 40" circular needles. 

Now, normally when you go to a real yarn shop, if the yarn you are buying is in a hank (a twisted skein of yarn) and not in a normal looking ball form, the shop with wind it for you.  You cannot work with yarn that is in a hank form; you must wind it into a ball or cone form.  The yarn manufacturer's put it in a hank so that the yarn can be properly showed-off to visually see the colors and the texture that yarn in a ball form could never do.  But, the hank is impossible to knit directly from because the yarn will tangle and you will have a huge, expensive rat's nest on your hands.

I asked the shop keepers if they wind the yarn and she replied that I could wind it myself, but they will not wind it for me.  Hmmmm...okay.  So, they set me up on the winder, but they only have the winder that holds the hank of yarn, not the winder that winds the yarn into the cone.  Guess what?  My sister and I had to hand ball the yarn ourselves.  She took one ball and I took the other.  Some customer service, huh?

Ok, now I know you are wanting some pictures or for me to hurry up with this story.  It gets better.  I get home to my sister's and try out the new yarn.  Can you predict what my next sentence will be?  You betcha!  The new sock yarn was still TOO THIN for the scarf pattern!!!!!  I knew it!  Dumb yarn ladies.

So, now I have two sets of yarn that I cannot use on this pattern.  I now turn to my elastic yarn project, now that I have the 40" long circs.  I could not get the Magic Loop to work with the elastic yarn, I kept getting the laddering that I prided myself on overcoming in my last post, Lace-up Fingerless Gloves.  So, this is strike 3 with the project thing.

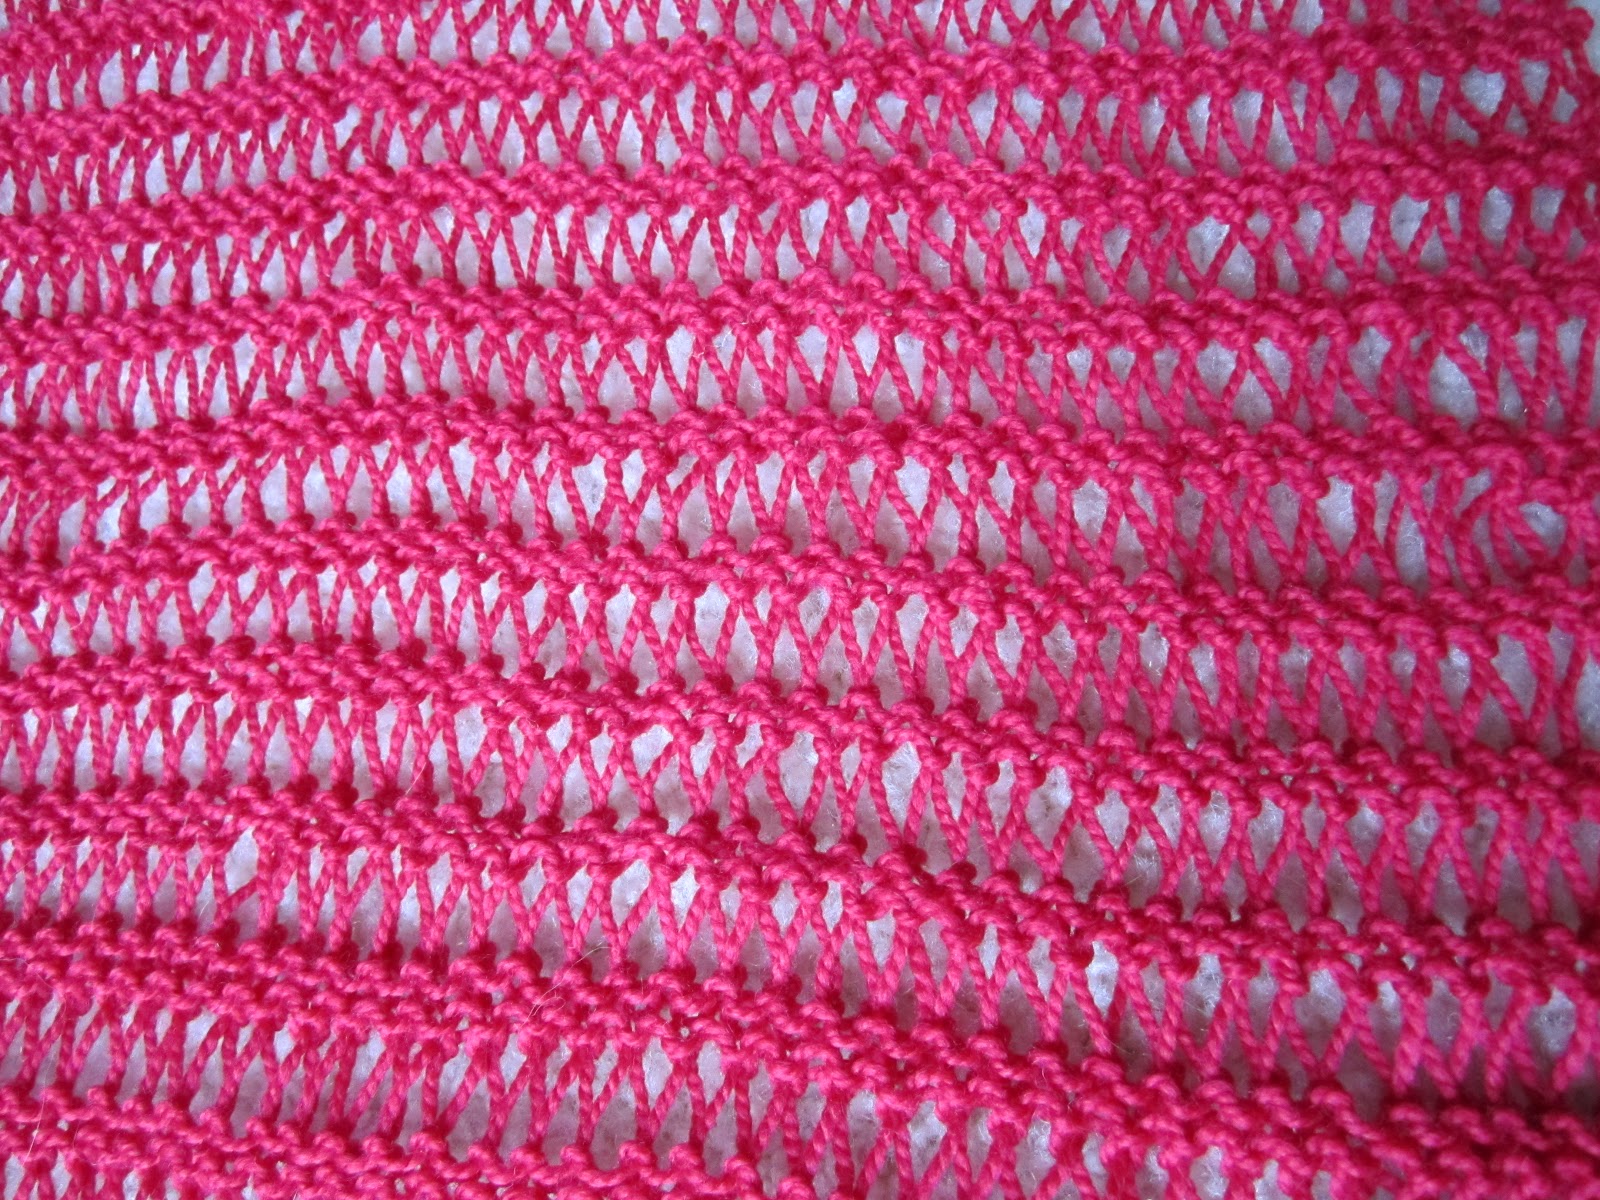
I finally go online to Berroco and find a scarf pattern perfect for my new sock yarn.  This is where the Raspberry Scarf comes on stage.  The yarn I bought from the dumb yarn ladies was called Happy Feet from Plymouth Yarn Co (90% Superwash Merino Wool / 10% Nylon).  Now, this was not good for the original scarf pattern, but it is wonderful for the pattern called Facinate on the Berroco website.  If you click on the Berroco link in this paragraph, it will bring you to the pattern.  It is an elongated stitch scarf.  The pattern is a four row repeat, with knit being two of the four rows and most of what you do on the other two rows.  It took some practice, but I was able to get it right.

A little swatch...

At first, I was thinking that this was going to be difficult because I had never tried an elongated stitch before. I did my mini gauge swatch (gauge is not important in this pattern) and seem to have gotten the hang of it.  The color of this scarf is a raspberry not a red, like how is may seem in the picture.

I have to tell ya, this is the most forgiving knit pattern I have ever done.  At the start of this scarf, I was not counting the rows but "remembering" what row number I was on.  Don't ask me why I thought this would work, because I misremembered several times and just finally got a counter to track it.  But, I did not rip out the wrong rows.  That is the forgiving part, you cannot even tell where my mess-ups are.  I love this pattern!!

Hidden picture: can you see the incorrect rows??

This scarf is like an optical illusion where there are incorrect rows in the above picture but because your eyes focus on the elongated stitch, you can't notice them!  Perfect!  Although not recommended as a beginner pattern, a very good one for knitting while talking and watching TV.

As I say this is a great pattern, since it is so repetitive, it got boring after the first ball of yarn was knitted.  But, like I said, it ended up being simplier than I thought.  It is a good combo of easy but looks elegant. 

Stitch close up

I knitted this as a scarf, but now that it is done, it can be several types of accessory pieces.  I will begin my montage of scarf modeling.  It can be a cowl:

Holy cowl, this is cozy!

Another way is it can be worn as a shawl during an elegant evening out (or at work when they have the A/C on in the winter):

No, you may not take my shawl, sir.

Or as tied caplet:

The possibilities are endless!
I can always wear it as a normal scarf or tie it on my waist as a waist scarf.  I could go on and on.  I did go on and on during this post, but I felt as though it was necessary for you to know the history of how this scarf and I met.

I will go back and try that elastic yarn project again and will search for the perfect yarn for my original pattern.  But, I think I will break from the scarves for a bit.  I have some sewing ideas that I need to blog about that I have already done and some that I need to put into motion.

Thanks for sticking around! 

PS.
Kathy, I'll mail you back your bambo needles soon!  TY!

Sunday, January 9, 2011

Lace-up Fingerless Gloves

Let's back-up a bit this week.  In addition to a few scarves, I also made a pair of lace-up fingerless gloves as a Christmas gift this year.  These gloves came from a knit book called AlterKnits by Leigh Radford. 

Very creative knit pattern book

This book I received as a gift one year for my birthday.  I've had the book for about four years and this is the first project I have made from it.  There are a ton of cute and cool items to knit or otherwise create with wool that it is definitely worth checking out. 

The yarn I chose for this project was Encore by Plymouth Yarn (75% Acrylic / 25% Wool) in a peach color. First, they instruct you to knit a gauge swatch.  You know how I feel about gauge swatches, so I sort of make one then just go with the needle size recommended, which was a size 7.  The cool thing about these gloves that make them different than many other gloves, are that they are longer up the arm and lace-up with a ribbon.  Wait until you see how nice they came out.

So, right away I make a mistake.  The pattern starts at the arm and you knit on straight needles for 6" or so.  In the arm part, on each side you do some yarn overs (yo) and create eyelets for the threading of the ribbon.  I missed the first eyelet on one side.  I did not discover this until I was, oh, I don't know.....

Can you read the tape measure?

Let's see, what does the tape measure read?  Yup, five inches along.  Well, I did what any insane knitter would do:  I ripped it out and started over.  I had to!!  I could not lace it up, in good faith, through a random stitch and give it as a gift.

Rip, rip, rip!

By this time, I had the eyelet pattern repeat down pat.  Once I got myself back on my feet and knitted the required inches for the arm, they instruct to transfer to double pointed needles (dp), aka double points, so you can knit in the round (join the two sides together to form a tube).  Double points are knitting needles that are short and have a point on each side and come in sets of four or five.  I have several sets and I hate using them.  You have to evenly distrubute the stitches over three or four needles and use the empty one as the second knitting needle.  I may have lost you but that is okay.  They are confusing and I can't ever hold them right.

But, alas!  There is a cure for the dp blues.  It is called Magic Loop.  You get a pair of circular needles in a length of at least 32" long and you do this thing where you have loops on both sides of your knitted tube.  This technique eliminates the "ladder" effect that alot of knitters get with the dps.  I'm not really going to try to explain, just click on the link above to see a video from YouTube.  It is only three (3) minutes long and it will convert you!!

Me, Magic Looping!!

This part is shaping the hand portion and the thumb.  The below pic shows that the join of the sides is seamless and you cannot tell (no laddering).  Laddering is when the joining stitch is slack and is not uniform with the rest of the stitches, but is consistent going up the side and looks like rungs on a ladder.  I think I am getting too technical, so forget all this!  Just let me show off my seamless stitches and be done with it! :-)

Yeah, Me!

Nothing else disasterous happened while knitting the rest of the gloves.  You work the hand up to the  knuckle, making a spot for the thumb.  Meanwhile, the thumb stitches are placed on a holder to be worked later. 

WIP (Work in Progress)

Once the thumb was knitted and yarn tails weaved in (I had to sew up a hole that formed between the thumb and the hand, so I just used the tail that was from the thumb), I had to model to show the almost complete fruits of my labor.

The rolled-edge is cute, huh?

So, when I got to this point, I just wanted to be done already!  But I wanted to block the gloves so the stitches will lay flat and to tame the eyelets so they will be straight and flat, not curling.  Here are some things you need when you block something:

Take the time to block, you will thank yourself

A flat surface (I used a wooden tv tray), a spray bottle with water, towel, and pins.  In this case, I did not need the pins.  The pins help set the item to a measured size; I did not need to size the gloves.  I wet the gloves on both sides until they were damp, but not soaking wet.  Rub the water into the stitches (this, to me, is like feeling a wet dog...yuck), then position the gloves in a single layer on the towel.  I folded the towel over the gloves, but left the rolled edges hanging out.  I did not want the rolls to be flat.  So I had essentially sandwiched the gloves between two layers of towel.

Towel sandwich

Then I placed some heavy items on top to weight it down.  Then I came back the next morning and took a look.  The gloves were dry and set.  On a side note, yes, that is a Dexter board game!  I just got it for Christmas from a very close friend and I played it on New Year's Eve.  The game is won by collecting your suspect game tokens in a mini black garbage bag and moving your piece around the board until you get to the marina to "dump" the evidence.  Yes, a bit demented, but if you are in love with the show, you would get a kick out of the game concept.

So, here are the final results of my lace-up fingerless gloves:

Now, how do you lace the ribbon?

I am pleased with how they came out.  I did have an interesting time actually lacing up the ribbon.  I wanted the ribbon to actually show but could only think of how a shoe was laced.  I figured it out, eventually. 

In my opinion, this was not a difficult project, considering that they are pretty much a half a glove (no fingers), but it still took me at least two weeks to complete them.  It actually spanned about a month, but I did not work on them each day and I visited MA for 10 days in December, so I finished them up when I got home during Christmas weekend.  I did not give these as a gift until New Year's weekend, so I had a bit of breathing room.

No matter what, it is always hard for me to part with my creations.  I may not have come up with the pattern or the idea, but I take pride in the finished piece, so I end up wishing I made the item for myself!  Selfish, I know, but I did give the gloves away, so it is not too selfish.  (I hope).

Now that you see how I got through a pattern, with a few hiccups.  What hiccups have you encountered in your latest WIP?  Let me know, take pics, send them to my email by clicking the envelope link below.  I would love to show off your pieces!