Sunday, October 21, 2012

NY City Cowls

One of my friends is going to NY City to visit her sister and her husband.  I was invited to go, but other financial commitments (ahem, a sick cat) has prevented me from going; this has made me very sad because it was going to be a Sex in the City sort of weekend (minus the sex, hehe).  In other words, a girls weekend in New York City.

When you live in Florida, you tend to get rid of your warm weather clothing a little bit each season.  It comes to a point where you barely own a jacket.  As a "Sorry-I-Can't-Go-But-Thanks-For-Asking-Me" gift, I thought I would knit up a snuggly cowl for her to wear while she is up in NY.

The pattern comes from the Knit Simple Holiday 2011 issue designed by Vickie Howell.  I then chose chunky baby yarn.  Never underestimate the greatness of baby yarn!  I chose Patons Beehive Baby Chunky in a light green called Quicker Clover (70% Acrylic/30% Nylon).


I used size 10 straight knitting needles and about 1.25 balls of yarn.  I knitted several rows of a k2, p2 ribbing to start.


Then I started to cable.  I had never done a cable quite like this and I thought something was wrong at first, but once you do a few, it starts to look very nice.


Here is a close-up of the cabling:


The pattern instructs you to either sew adornments on the folded cowl or make buttonholes and sew buttons on.  I chose the button route.


I chose some nice bling buttons for the NY girl in her.  I situated the cowl and figured out the placement of the buttons and sewed them on.


I buttoned it up and it is complete!
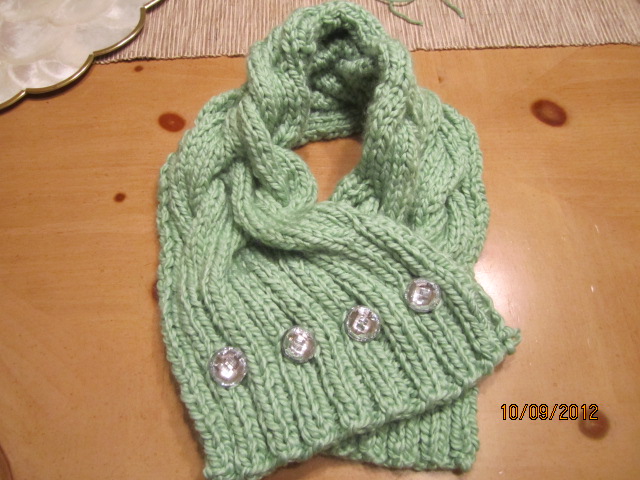

I had to try it on and test drive it for a bit while watching TV.  In the words of TV Guide: I Cheer it!


This should keep her warm as she sees the sights with her sister...Have fun, Cathy!

I thought this came out so nice that knitted up a second one to give to another friend for her birthday.  I chose black bling buttons for her.  Happy Birthday, Kj!


Send me pics of you guys wearing them...I'll post the pics!

Sunday, October 14, 2012

Sari Bracelet

I went online to search for some cute crafts to complete in a short amount of time.  I have been exclusively knitting and I needed a break from it.  First, I checked out Pinterest, then Martha Stewart's Living.  I thought I found something on Martha's website but the directions were terrible, so I just did a good old-fashioned Google search and found something great.

I followed a link to make macrame bracelets!  Macrame is back, Ladies!!

Ok, well, the fad might not have caught on again, but I am willing to give it a go.  This project was found on the blog, Honestly...WTF.  The writer is a very crafty gal and a fashionista whom goes by the name of Erica.  I cannot seem to find her Bio on the blog, but she apparently has 23,000 followers on Twitter.  Go Erica!

My project will use:

 
  • A defunct earring ring
  • String (like a stiff yarn or hemp)
  • Sari ribbon yarn
  • Scissors
  • Tape
  •  Sewing needle


It is essentially a square knotted bracelet with an adjustable knotted slide.  I will show the highlights on my blog, but full instructions are on Honestly...WTF.  She does a great job showing pics of each and every step, that it would be me reinventing the wheel if I were to step-by-step it for you.

First, you are instructed to cut 5 lengths of string.  I cut 3 of the string and 2 of the sari ribbon yarn.  You also need a ring or something to anchor your string to so that you macrame out from the ring.  This will be the centerpiece of the bracelet.  This is where my earrings come into play.


I used the middle-sized ring, but I may have to also use the small one.  My wrist is so tiny, that the middle one is even too big.  But, I started with the middle one and had to follow it through to the end with it.  No problem.

Second, you tie your 2 strings to the ring so they are on opposite sides of each other, tape down one side, and start forming square knots with the sari ribbon yarn over the strings attached to the ring.


This sari ribbon yarn is very decorative and gorgeous, that I thought this would be so pretty as a bracelet.  You are knotting until it is just shy of half distance around your wrist.  Repeat on the other side.

You thread the extra string through the knots and tie it off, but I kept them long so those ribbons will hang once tied.

Third, you are instructed to make the adjustable knot.  You are using scrap string to keep the strands in the shape of a bracelet and you are square knotting again over the strands.  Tie off as in the bracelet square knots.


Fourth, adjust the strands on either side so your hand can just fit through the bracelet.  Tie the loose strands in a knot, separately, on each side near the adjustable knot.


Lastly, try it on and tighten the strings on both sides to center the ring on your wrist.  Trim away the excess strings after the knots.


Ladies, you are all done!  Now go to Erica's blog and make yourself a dozen of these using anything and everything that would work.  This was quick and fun to do.  The creative possibilities are endless and these would make great stocking stuffers for family or your friends.

Let me know if you do make any!  I'll post your pics!

Sunday, October 7, 2012

Bean(ie) Town

This is another installment of the Knitapolooza that I happen to be in, knitting for Christmas.  The pattern this week is the Bean(ie) Town.  Bean(ie) Town is a beanie cap that can be knitted as a skull cap or a slouchy beanie.  For two little boys up in Rhode Island, I went with the skull cap version. 


This pattern came from the Knit Simple Fall 2012 issue.  The yarn I am using is from a new line of yarn from Vickie Howell for Caron International/Bernat called Sheep(ish).  It is 70% Acrylic/30% Wool.  It is pretty nice stuff, considering it is affordable and you can buy it at Michael's and Joann's. 


I am using a size 7, 16" circular needle and am joining in the round.  This beanie hat will have no seams: cool!  I am knitting it up just as the pattern states and hopefully this will fit one of the kids I am knitting it for.


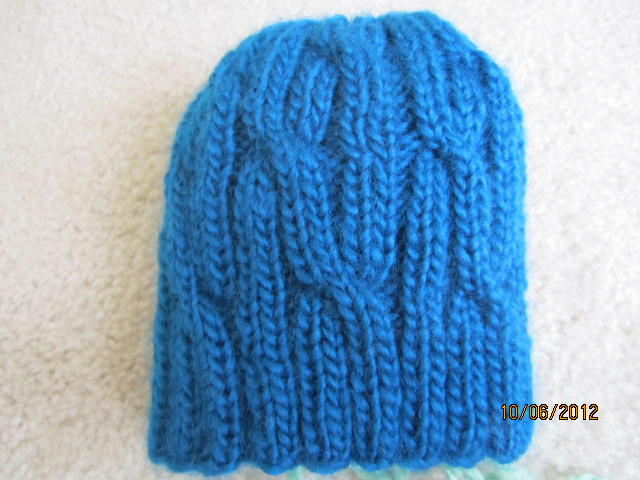
The basics of this pattern is a k2, p2 ribbing and at certain points, the ribs cross.  It is done like you were doing a cable, where you move stitches to a cable needle and either hold in front or the back of your work, then knit or purl the stitches from the cable needle to create the crossing-over look.  So far, in the above pic, I have only gotten the ribbing and have not gotten to a cable yet.


I'm getting there!  I placed the hat over a small mixing bowl to pretend it is on a head, to show the cabling pattern.  I brought this project to the beach last weekend and got a lot done on it.  I did do a modification to the pattern.  The first set of cables were normal, no biggie, but then the second cable that was supposed to go in the opposite direction was kind of crazy.  It twisted into nowhere. 


In the above pic, you can see that it twists to the right, but it does not really connect with anything.  Eh, needless to say, I ripped out to 2 rows below that cable and started again.  For the cabling, I repeated the left-twisting cable, but just staggered it so it twisted with a different set of ribs. (see the pic with the bowl, above two).


When I got to the crown of the cap, I had to switch over to double points (double pointed needles) because to shape the crown I was decreasing the number of stitches on the needle and the circulars would be too long to continue knitting.  Double points allow you to knit very small circumferences.


Here it is: complete!  I had two of these to do so here is the second one:


Those are two more gifts I can cross off my list.  Once I am done, I am going to knit myself something.  I can't wait.

Sunday, September 23, 2012

Vivecita Beret

I am a knitting fool, with all these knitted gifts getting completed.  Here is another knitted gift that I made with stash yarn.  Vivecita is a small, child-size version of Viveca, from Berroco.  So far I have made a total of 3 berets:
  1. Viveca Beret (for myself back in February)
  2. Viveca Hunter Beret (as a gift earlier this month)
  3. Vivecita (as a gift, today's blog post)
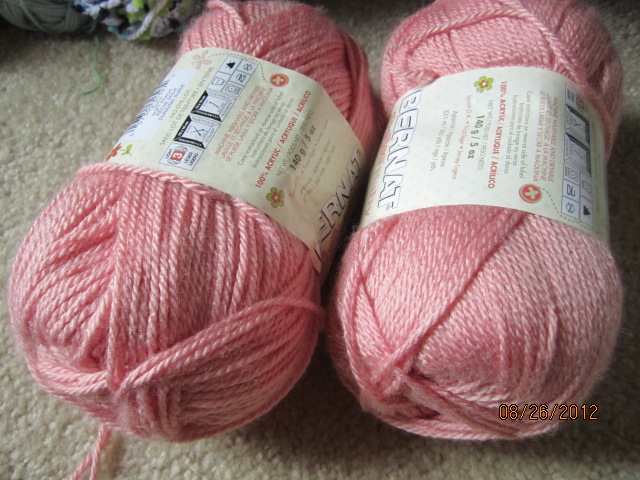
The yarn I used is Bernat Softee Baby, in Soft Peach.  It is 100% acrylic.  I used this yarn (that's why I called it a stashed yarn) for the I Heart Hats that I made last Christmas.


The modifications that I did for this pattern was to only do 6 fan repeats across the row, rather than the 12 for an adult beret and on the height, knit up 3 fans, rather than the 6 for an adult then start the crown shaping.  I also knitted the ribbing at the start edge for about a half inch rather than a full inch.


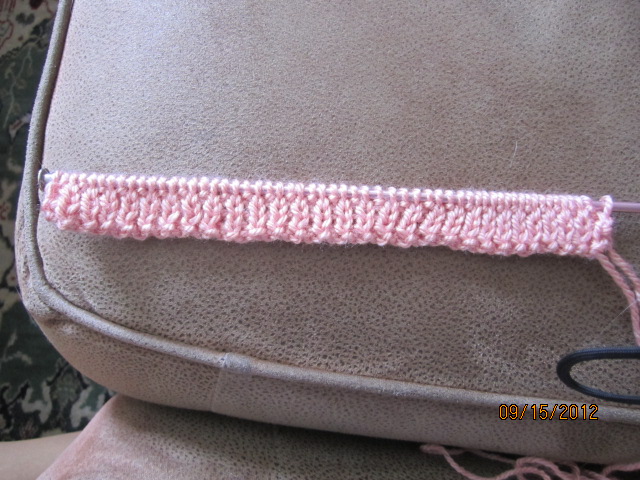
The ribbing makes it stretchy.  This ribbing is a K1, P1 ribbing.  The back and forth with the yarn string to go from purling to knitting is enough to make you batty.  That is one reason for the half inch modification, mentioned earlier.


That's a close-up of the ribbing.  Since I was knitting a child-size version of my favorite beret, this knitted up in no time.   This only took one weekend to do.  I knitted while watching movies last Sunday.


I really hope that the modifications worked and that it actually will fit the recipient's head.  She is only 2-ish, but still.  I hope it fits!!

Sunday, September 16, 2012

Oliver & Ryan Sprinkles Baby Hats

I had one skein of Premier Yarns Serenity Chunky Sprinkles (75% Acrylic/25% Nylon) in a blue, green and white called Tadpoles.  It is very soft and I bought it last year without really knowing what I was going to do with it.


I now had a reason to use it.  My two close friends both gave birth to boys this year and I can now knit them hats.  Baby clothes are so adorable and faster to knit or crochet up than an adult garment, so it gives a faster done-with-this-project good feeling.

I just used a basic k2, p2 ribbing pattern so it will be stretchy to grow with them.  


I used a size 11 needle, because they weren't kidding when they call this chunky yarn.  Because it is chunky, it worked up even faster.

One hat will be for Ryan, which I topped it off with an i-cord, in a sort of fanciful curly-q fashion.  That will be for Christmas.  I currently have it folded at the bottom edge, but it can be unfolded to fit his growing head over the winter months.


The second hat will be for Oliver, which I topped off with an old-fashioned pom-pom.  I used my cell phone as a guide for making the pom-pom.


Once wrapped I tied a short piece of yarn around the middle and cut the loops at both ends and fluffed it up.


I then took the original yarn that was used to tie the middle and with the crochet hook, threaded those ends through the top of the hat.  I turned the hat inside-out and tied those ends in a knot to secure it the the top of the hat.


I love how the pom-pom is just as big as the hat.  Too darn cute!  I got to meet Oliver last Wednesday and I was able to give him his little Sprinkles hat.

I still need to meet Ryan, who is up in Mass.  I might be coming for a visit over Thanksgiving, so I hope that I will be able to see a few friends and meet Ryan while I'm there.

Sunday, September 9, 2012

Viveca Hunter Beret

Christmas gift making and stash-busting: I love it!  I did this beret in about a week; I was working on it just about every day.  Even if it was 2 rows, I was knitting away.

This is my second Viveca Beret.  My first one I knitted back in February with the softest yarn in the world, Flicker from Berroco (First Viveca Beret).  

I had heard on the radio that the "it" color for fall & winter was going to be forest green.  Perfect for my Viveca project.  The yarn I am using is Lion Brand Wool-Ease (80% Acrylic, 20% Wool) in a dark hunter/forest green.  I used this yarn when I knitted the Shapeshifter Shrug in November of 2011.  I had about one and a half skeins leftover from that project. 


I always keep the patterns from the projects that I do and, thanks to my Craftolution #2, they are all organized in a 3-ring binder.  I place the pattern, gauge swatch and any other items that I may find useful if I were to ever do that project again.  In this case, I tucked away my handy flashcards with the pattern repeat on them.  Each card has one Row on it.  


This pattern has a total of 5 full pattern repeats.  Here is me at 2.5 repeats.  I think that I am only going to knit 4 repeats.  It should still look fine.


I knitted this on a size 8 circular needle, but am not joining in the round.  I knitted back and forth, as if they were straight needles.  This way the needle can accommodate a large number of sts easily.

Here is the beret at the 4 repeats and the crown shaping.  I only need to cut the yarn, thread the yarn through the live loops to close the top and seam the side closed.


The thing about substituting yarn, the project will not come out the same as the original.  It may not be a bad thing, but it also may not be a good thing.  This is did not come out exactly like my first one: brim is a bit large, hat does not slouch the same.  The Wool-Ease is a bit lighter in physical weight than Flicker, so that caused the slouch/drape to be a bit different.  


But I'm not complaining: look how cute it is on! 


I have transported my living room to a French Cafe.


It does look a bit big, but it is supposed to be slouchy.  Some online reviews of this pattern say that it was too big for them.  Not sure if they realize that it is not supposed to fit like a beanie.  


I have not decided who is going to receive this as a gift yet.  I just know that it is a cute project and I figured one of my friends may also feel the same way.  This beret may also look cute with a flower pin on the brim.  I'll think about it as Christmas draws near.

What are your ideas for handmade gifts this year? Let me know!

Sunday, September 2, 2012

Fuzzy Wuzzy

I am starting my Christmas knitting early.  I am on a roll and have completed two hat and scarf sets.  I don't know how many items I will make as Christmas gifts, but I will just knit until I run out of time.  That always seems to work :-)

I start out by buying some really cute yarn at a local store; they were inexpensive so I figured I'd buy a bunch and figure out what to do with them later.  The first set of yarn is a wool-like multicolored strand with a novelty strand of mini fuzzy nubs on them wound together.  I'll call this set of yarn "Fuzzy."  The brand is Gala Yarns and I believe it is a yarn company that must buy out other company's yarns and recycles them.  So I am being green by knitting something with recycled yarn.

Fuzzy

The second set of yarn is a brown worsted weight acrylic yarn with a novelty strand of mini fuzzy nubs on them wound together, like in the other yarn.  This set is also from Gala Yarns (again, being green).  I will call this set of yarn "Wuzzy."

Wuzzy

I decided to make a hat and scarf set for my friend's two daughters.  I made them a hat last year (I Heart Hats) as well, so they can add these to their collection.

The scarves are first.  It is a pattern that I am improvising on.  Here is my pattern:
  • Any yarn, at least one ball of 50g (more if you want fringe)
  • Size 8 or 9 knitting needles (8 if thin yarn, 9 if thick yarn)
  • Work the following pattern until you run out of yarn or reach the desired length:
    • CO 16 st, loosely
    • Row 1: k1, *yo, k2 tog, repeat from * to end
    • Row 2: p
    • Repeat Rows 1 and 2 until you reach desired length
    • Bind off loosely
    • Cut fringe in 10" pieces for fringe that is about 5" long once attached
      • For Fuzzy, I used 3 strands of yarn for each fringe
      • For Wuzzy, I used 2 strands of yarn and one strand of ribbon for each fringe
    • Attach fringe at the ends of scarf at the ribs
This pattern created a ribbed look with eyelets (holes) in between each rib.  It was to have an easy pattern to mindlessly knit without a pattern, but different than stockinette.  

Here is Fuzzy, while in the works:


Here is Wuzzy in the works:


Next was fringe.  I cut 54, 10" strands for Fuzzy and 36, 10" strands for Wuzzy.  Wuzzy also had 6, 10" strands of purple ribbon cut.  


I explain how to attach fringe in a past post: Quintet Scarf.  For Wuzzy, I placed the ribbon one on each end and one in the middle, so there are 3 strands of ribbon weaved in at each end.


On to the hats.  The hat pattern is a pattern I have used in the past and love it.  It is very versatile.  That pattern is available in my I Heart Hats post.  This time, the yarns were pretty thick, so the bottom edge did not naturally roll, so I made them like beanie hats.  You gotta roll with the punches and just go with it.  


How cute, huh?

Here are them as a set:


So, I can officially cross two little people off my list.  Not too shabby.